Tuesday, September 7, 2010

Finnlife Helsinki log cabin built near Oxford by Cabin Living

Take a tour of our helsinki log cabin installation.


Garden Office installers

Finnlife Helsinki log cabin built near Thame and Oxford

One of our latest projects was the Helsinki log cabin made by Finnforest or Finnlife built in Tetsworth close to Thame and Oxford.

In total there were 3 pallets of timber roughly six metres long x 1m x 1m and a further standard pallet size full of roofing tiles.


Just over a third of the cabin carried round to the site ready for the build.


The base was done in three seperate sections the two main wings on day one and the central section in the morning of the second day. In total its roughly 10m x 4m. This required over eight jumbo bags of ballast, quite a bit of hardcore from the old base and in excess of 30 bags of cement.


Base complete and set ready for the start of the cabin assembly. First job is to arrange the 4 x 2 floor joists and fit damp proof course to each timber. Our client also supplied damp proof membrane for use beneath the concrete base itself.


The first row of 44mm wall logs roughly in position and you get an impression of the layout on the ground floor with a hallway and four rooms leading off this area. Our client had already made a trench for a water pipe and soil pipe for connection at a later date positioned in the smallest of the four main rooms.


Once a few of the wall logs are in place it is a good time to fit the doors.


The rest of the doors in place and the walls continue until it is time to fit the windows.
e
Again two or three wall pieces in place it is a good time to fit the windows.
Additional windows were ordered with this cabin to be fitted to the rear walls of the main rooms. We cut the walls once the main structure was in place but it would probably be easier to cut the walls and fix them at this stage rather than attempting to remove the trim from one side and fit them retrospectively.


It is already getting quite high but there is still some way to go yet!


Finally up to roof height and the roof joists are fitted.


A view of the attic space prior to fitting the roof boards. The instructions from finnlife for the attic space are little bit vague but it soon becomes clear how it should be fitted.


The main spaces are now covered with roof boards and the centre section is finished in a herring bone arrangement which involves quite a lot of work with a chop saw.

You need to be extremely careful fitting the roof tiles on a cabin of this size. Scaffolding would be a wise safety precaution and certainly good steps and ladders are required. The pitch on the roof is quite steep and is not suitable for walking on safely until you have firmly fixed tiles to walk on.


The roof complete and ready to be trimmed to fit facia boards.


Internally we installed our floor and ceiling insulation options. We use 50mm Celotex boards in both the ceiling and the floor. In the floor the celotex is suspended between the floor joists prior to fitting the tongue and groove floor and in the ceiling it is suspended between the roof joists. Timber battens are fitted to the roof joists and plasterboard is fitted, then tape and joint filler is added and finally it is sanded ready for painting.

The loft space creates a few headaches as there are quite a few angles to consider. But the good news is you'll be able to make the body for a stealth bomber when you're finished!

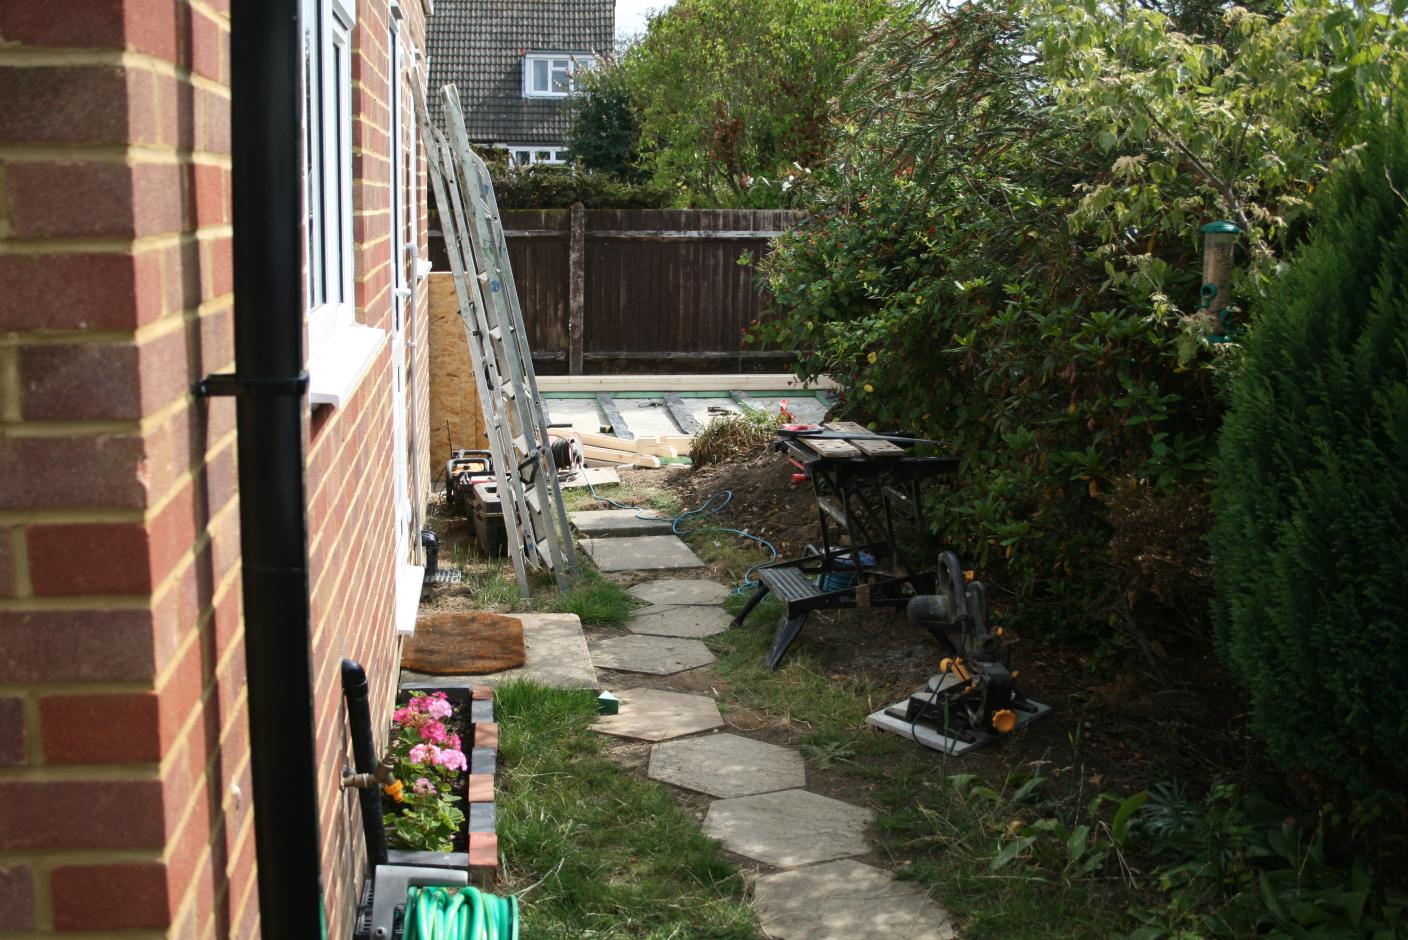
The decking is suspended on roughly 26 fence posts which were driven into the ground to suppost the deck frame.


And there you have it, the Helsinki log cabin with a enough room for a music room, a play room at least one garden office, and maybe a home cinema!


Corner Log Cabin Addlestone, Surrey

One of the primary advantages of the Bannockburn log cabin is that it had a ridge height of less than 2.5m meaning it can be sited within 2 metres of your boundary.

Basework all complete and we are ready to start the assembly.


Floor joist laid out, dap proof course stapled to each piece and we can start to build up the walls starting with the half log pieces.


Sorting all the pieces into their various component sizes will save you a bit of time in the long run.

Roof in place ready to tile. Tiling a corner cabin is a very time consuming process, lots of 45 degree cuts later and the roof will be complete. Its still a good half days work even with a helper.


To be used as a garden office this cabin has 44mm walls which is our recommended wall thickness and should warm up quickly. Combined with our floor and ceiling insulation options and our underfloor heating package it should be a very cosy working environment.


Assembly complete and ready to paint. We recommend Osmo woodstain and protector. Window bars can then be fitted to finish it off.