
Take a tour of our helsinki log cabin installation.
Garden Office installers
 In total there were 3 pallets of timber roughly six metres long x 1m x 1m and a further standard pallet size full of roofing tiles.


 The loft space creates a few headaches as there are quite a few angles to consider. But the good news is you'll be able to make the body for a stealth bomber when you're finished!
 The decking is suspended on roughly 26 fence posts which were driven into the ground to suppost the deck frame.

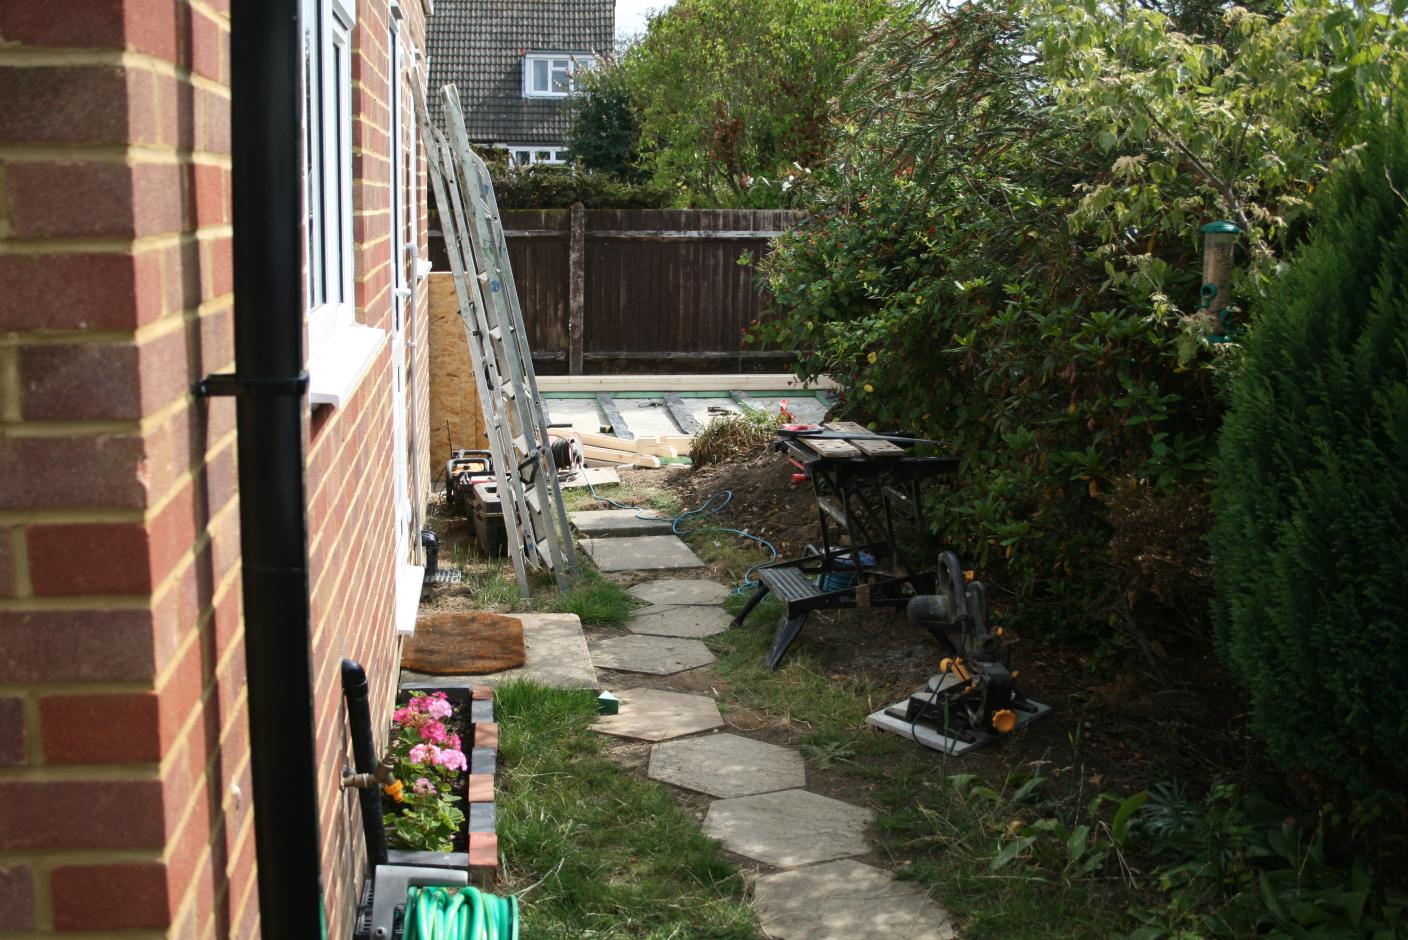
 Floor joist laid out, dap proof course stapled to each piece and we can start to build up the walls starting with the half log pieces.
Roof in place ready to tile. Tiling a corner cabin is a very time consuming process, lots of 45 degree cuts later and the roof will be complete. Its still a good half days work even with a helper.


To be used as a garden office this cabin has 44mm walls which is our recommended wall thickness and should warm up quickly. Combined with our floor and ceiling insulation options and our underfloor heating package it should be a very cosy working environment.

 Assembly complete and ready to paint. We recommend Osmo woodstain and protector. Window bars can then be fitted to finish it off.


Almost time to assemble the door frames and fit the facia boards to the window frames. The timber pile starting to go down as we get on with the cabin construction.
Door frame and windows are in position and almost up to roof height. Our target on a cabin this size is usually to get the roof boards on ready to fit the roof shingles the following day.

Tiles are fitted hexham green in this case and finally the decorative trim is fitted to finish it off.

 A beautiful setting though what you can't see are the dreaded midgies!
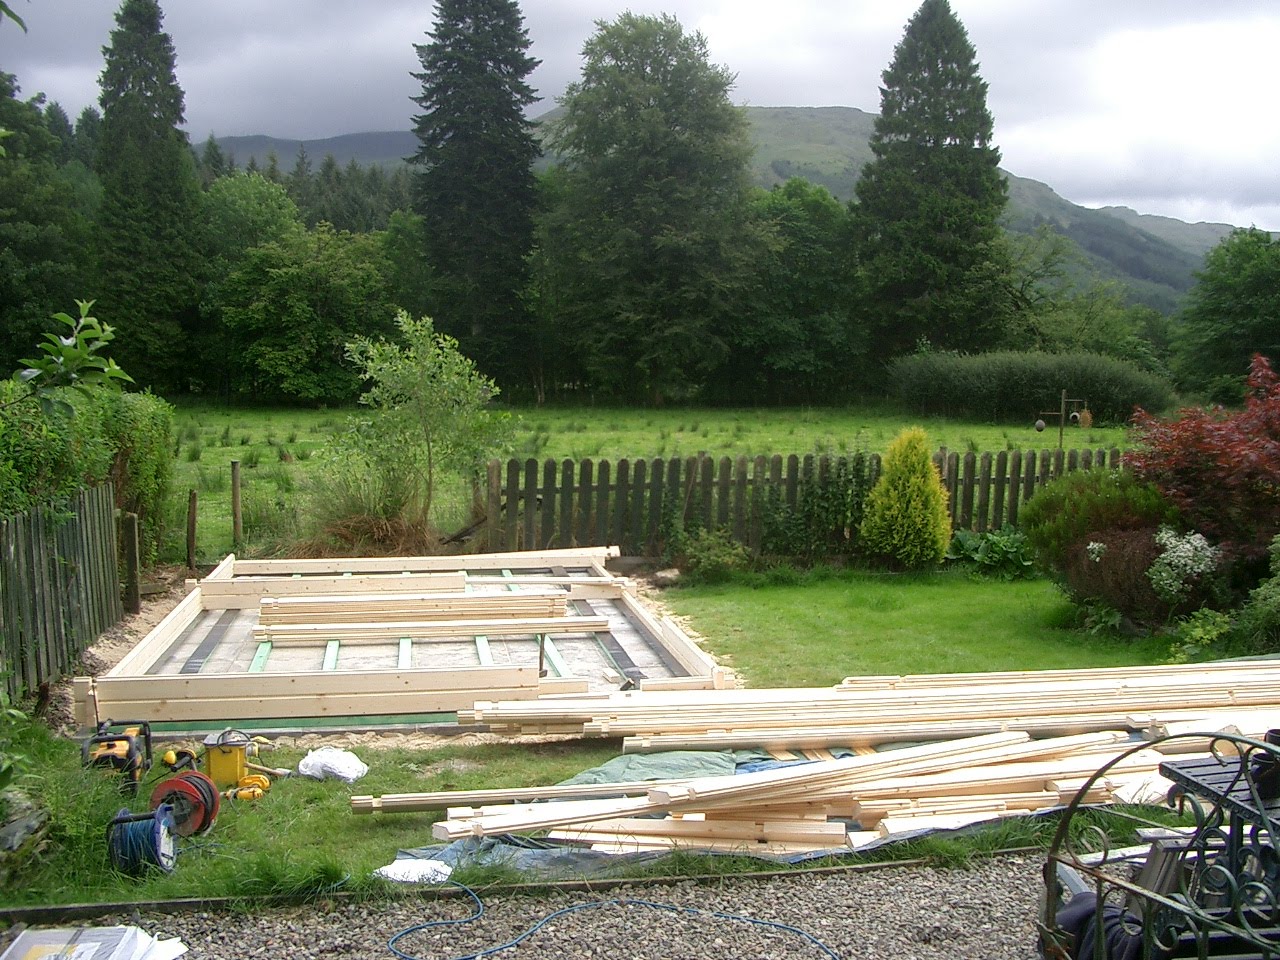 Our client used standard 600mm square slabs layed level on a bed of sand. Alternatively a concrete base can be prepared.
 First few rows of wall log in place and the windows can be added to the cabin.
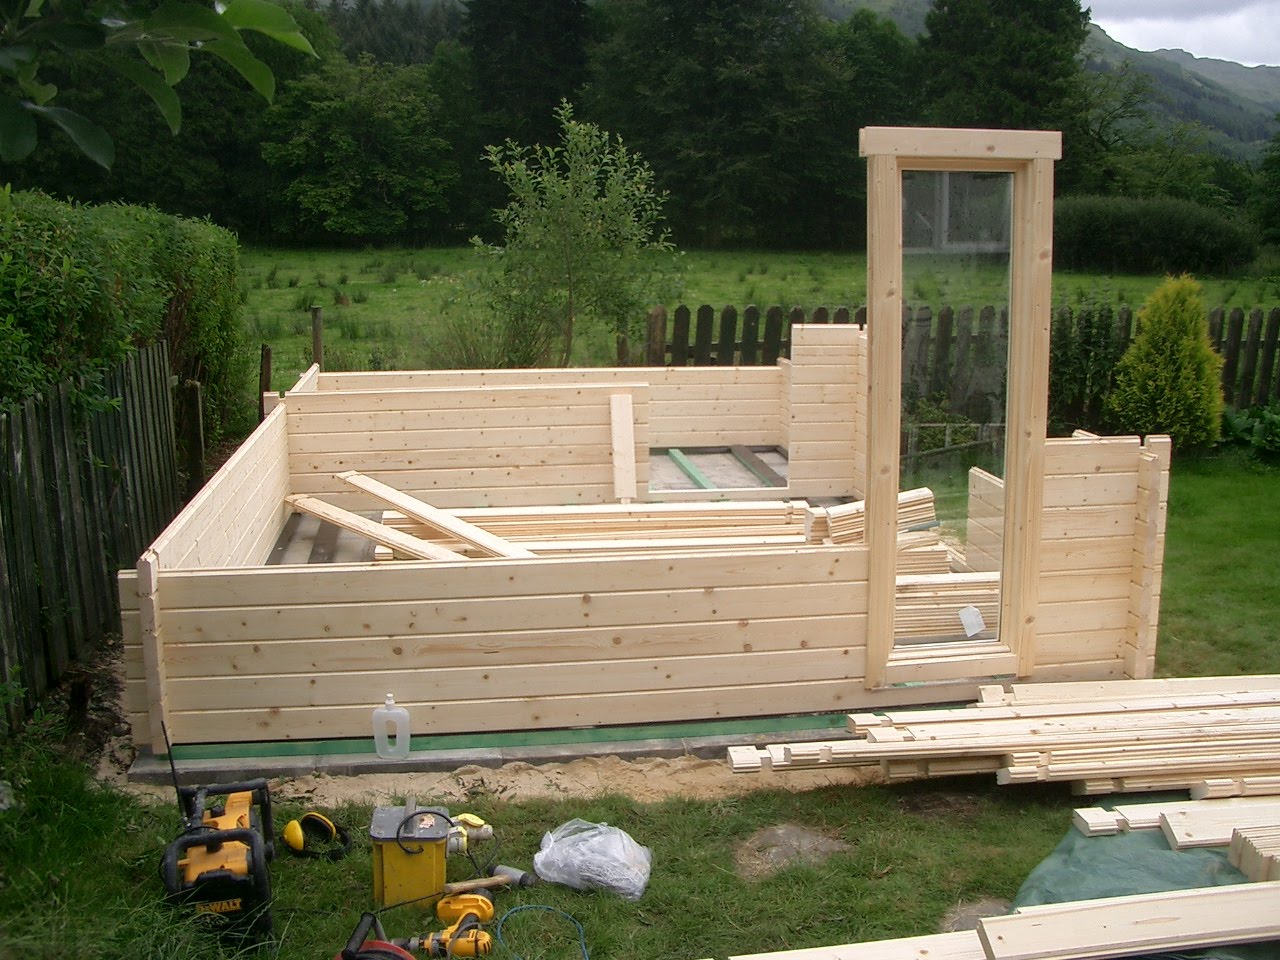
 Window frames are all pre-assembled and simply slot into place. The door frame has to be assembled on site though it is relatively straightforward.
 Door frame in and almost time for the step ladders!

 Roof joists going into place and nearly ready to fit the tongue and groove roof boards.


 You can clearly see the partiton and second office in this shot.

 Long windows and doors let in lots of natural light.

 Doors, roof tiles and trim fitted and we're pretty much there.


